Pages

Showing posts with label cheese. Show all posts

Monday, February 10, 2014

Bean Dip


Last week's Superbowl had absolutely no meaning to me. I'm a fair weather Patriots fan at best, so this whole football thing was maybe more about the commercials and food than the actual game. Well, scratch that. It was entirely about the commercials and food. I made bean dip from this recipe to bring to my friends' party, since I don't like showing up empty-handed. I placed it on the counter with a bag of chips without any fanfare and walked away... within an hour, the dish was scraped completely clean.

It's not the prettiest dip, but it's delicious and really quite cheap. You can easily make this as spicy as you'd like, and I'm sure you could add things like finely chopped bell peppers, other small vegetables, or even some ground meat. Think of it like the inside of a taco, in dip form.

Fast, easy, and really dang good, I highly recommend this for your next gathering. A group of hungry boys demolished this, but it could easily be halved for a slightly less ravenous crew.


You will need:
 -8oz (1 package) of cream cheese, softened
 -1 cup of sour cream
 -2 (16oz) cans of refried beans
 -taco seasoning mix, to taste
 -hot sauce, to taste
 -1/8 cup of chopped fresh parsley
 -1/2 of an onion, chopped
 -2 cups of cheddar/monterey jack cheese

Oven temp: 350˚F

You'll start by taking your softened cream cheese and fully mixing it with the sour cream. I took a picture for this but it looked completely nasty. You just want them to combine to make a nice, smooth texture. I'm sure you get it--you don't want any weird clumps of straight cream cheese hangin' out.


Add literally everything else and mix together very well. I ended up adding the majority of the taco seasoning as well as a fair amount of Tabasco and Frank's Red Hot sauce. Overall, probably a few teaspoons of each sauce. I wanted to make sure that the flavor of the beans didn't completely overpower the other tastes in the dip.

Maybe self-explanatory, but make sure everything is well combined and mixed. You want an even distribution of all the components. Who ever wants to bite into a mouthful of straight parsley?


Transfer to an oven-proof receptacle. I used a 9" cake pan, but you could definitely use a 9" x 13" pan to have a thinner layer of dip.

Top with cheese and pop into the oven for twenty or thirty minutes, until the cheese is melted and starting to brown.


Remove from the oven and serve hot with a fat handful of tortilla chips. You could even dip crunchy vegetables, or slather this onto a burger. The options are endless! I was hoping I would have some leftovers to put into a breakfast burrito the next morning, but unfortunately, I couldn't.

When football starts up again in a few months, I'll definitely be thinking of this for a crowd-pleasing dip. So easily customizable to your tastes, not too messy, and inexpensive! Just make sure you get a few bites before it all disappears.

Pin It Now!

Monday, January 6, 2014

Stuffed Potatoes


You know how some people gravitate towards one specific food, or even one cuisine? I suppose most of it comes from heritage; therefore, it's not much of a surprise that my (very, very British) parents and I love potatoes. It doesn't matter what form in which they come. Baked, mashed, fried, gnocchi'ed, we'll eat them all day.

After a frustratingly slow dinner out in Maine, we adamantly refused to venture out of the house for dinner the next night. Exhausted as usual after skiing (and recovering in the Jacuzzi), we agreed wholeheartedly on a family standby--stuffed potatoes.

Super fast and easily customizable, stuffed potatoes are always a hit at our house. They're also a greatly comforting food on a cold winter's night. Note: use any fillings/toppings that you'd like! You can really put anything you want in these. Use my ingredients as a simple suggestion, if you'd like!

You will need:
 -5 potatoes (for four people)
 -2 cups broccoli
 -1 cup chopped ham
 -1/2 cup chives
 -1 cup cheese, plus more for topping
 -2 tbsp butter
 -1/3 cup milk (approx.)

Oven temp: 350˚F


Start by cooking your potatoes in whichever way you want. We pierced them, then nuked 'em in the microwave for fifteen minutes, flipping halfway through cooking time. Remember that microwave times may vary! You could also bake them if you'd like, but that takes forever... ain't nobody got time fo' that.


When the potatoes are cooked, let them cool for a few minutes. Then, using a sharp knife, cut them in half.


Use a spoon to hollow the spuds out. Keep a bit of flesh on the skin, since you want to maintain the potato shape. Put the remaining scooped-out flesh into a large bowl, big enough for mashing.


Now, to the fun part. Add the butter and milk to your potato flesh, then mash away until it's at a suitable consistency. I would recommend that you don't add salt to the potatoes, since the chances are that your toppings will contain salt themselves. The last thing you want is a too-salty potato!


Prepare your toppings. We nuked our broccoli in a covered dish for three minutes in the microwave. Once it's cooked, cut it into small pieces.


Chop your ham.


Use scissors to cut your chives. Trust me.


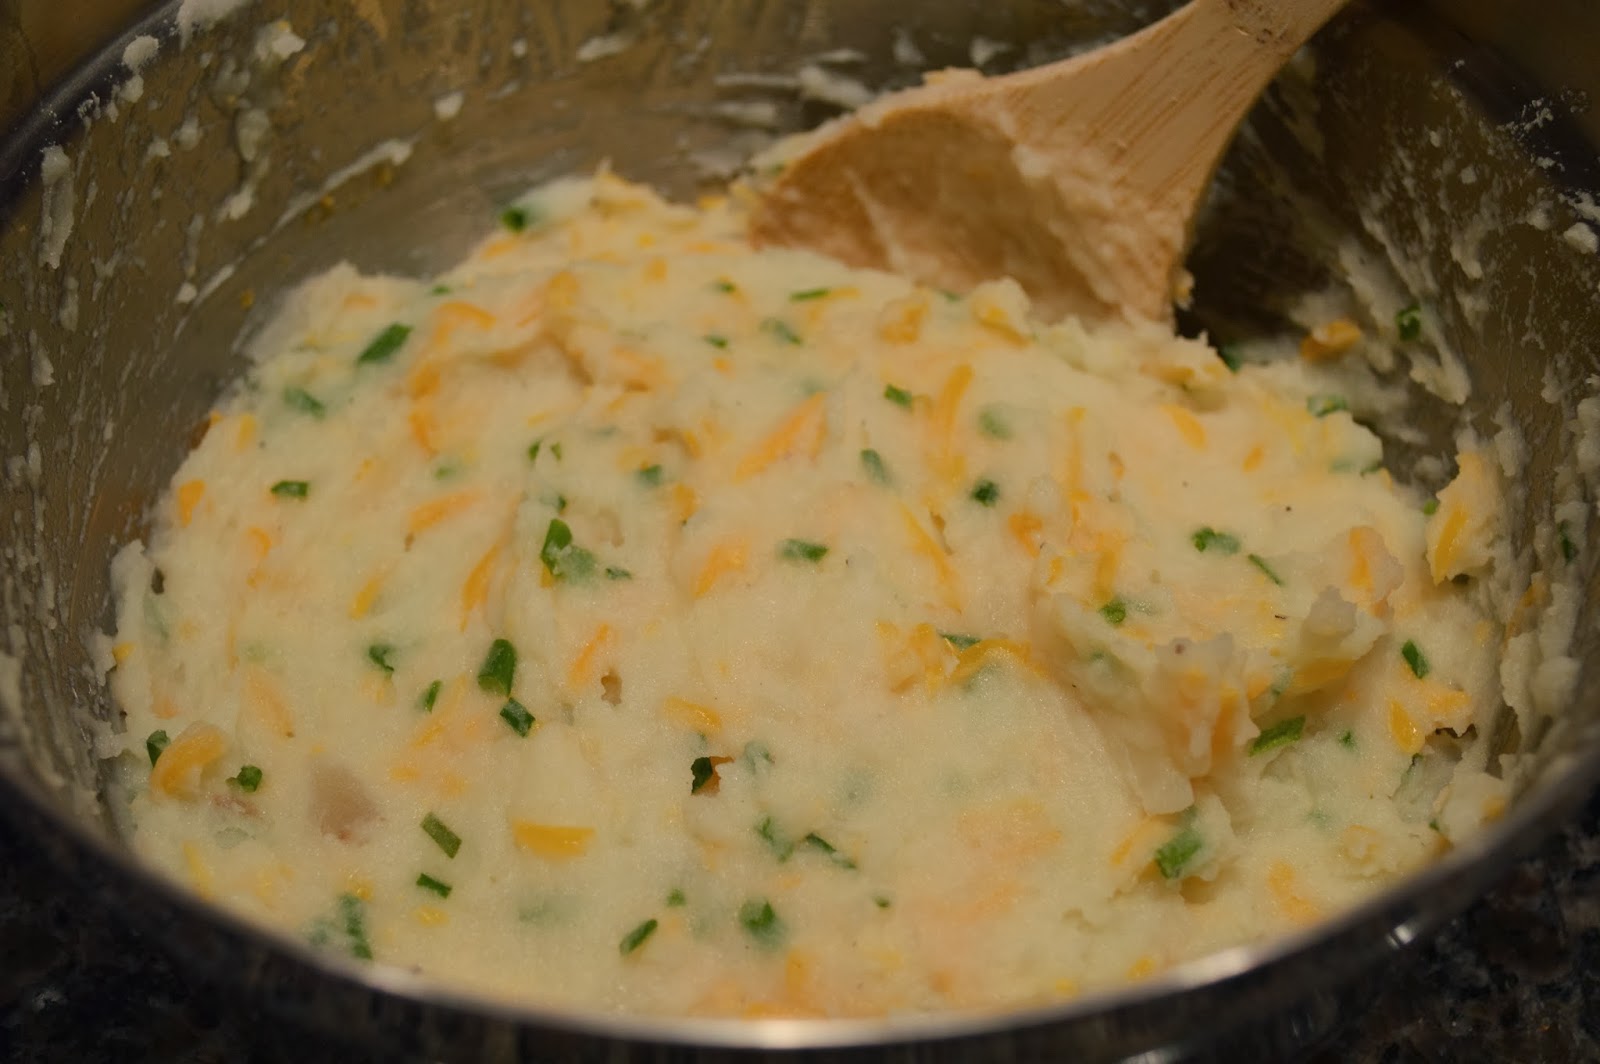
Add your chives and cheese to the mashed potatoes. Then, we divided the mashed potato into four portions and each individualized our ingredients. I added lots of broccoli, whereas my dad included only ham. Grandma and mom wanted both!


Fill your potato shells with your mixture, then place them on a foil-lined baking sheet. Top with more cheese (duh) then bake them for ten or fifteen minutes, until the cheese is melted.

Take them out and serve immediately! Our stuffed potatoes were accompanied with a simple salad. They take approximately an hour from start to finish. Easy, nutritious, and delicious, I recommend these any time you need a hearty supper during the cold New England winter!

Pin It Now!